Wyszukaj na stronie

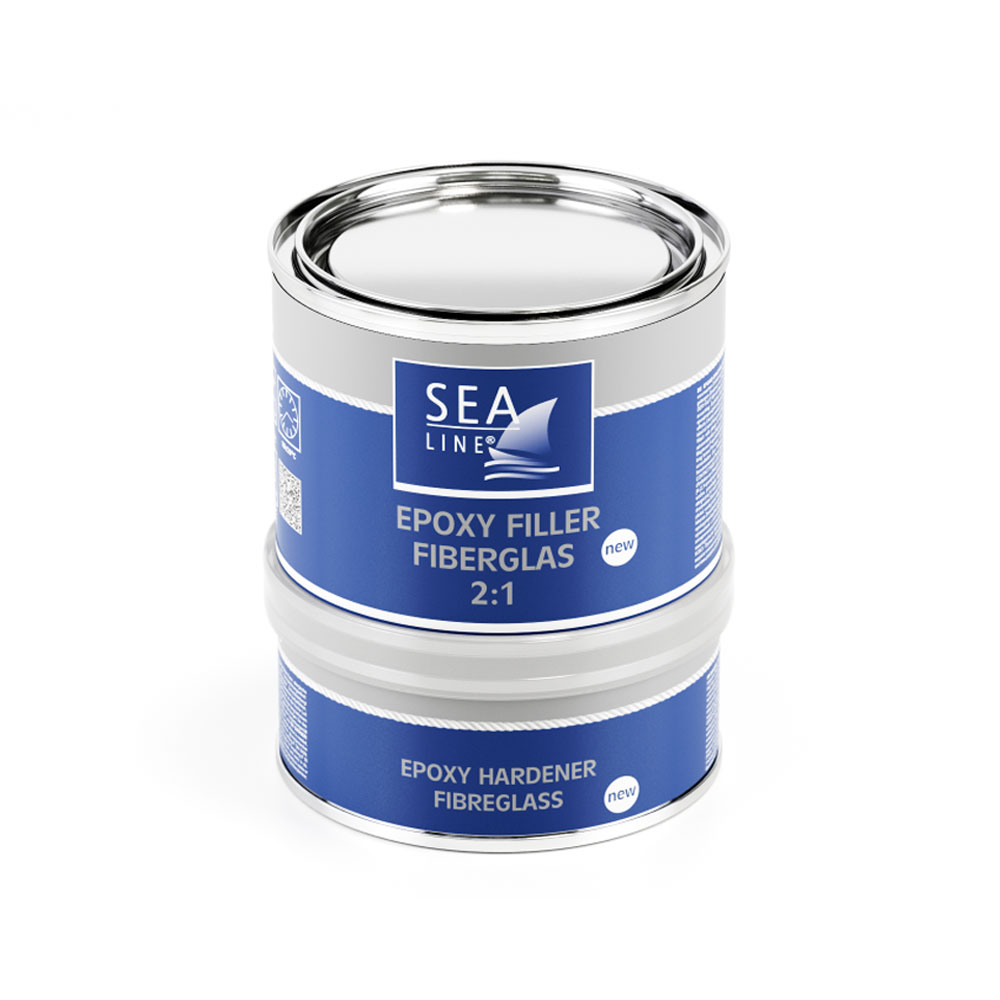
Epoxy Filler with fiberglass

Epoxy fillers, including fiberglass filler, are primarily the only fillers truly recommended for use both above and below the waterline.

They can certainly be applied to hull components constantly immersed in water as well. In short, they can be used on fiberglass, wood, steel, and aluminum.

WeightCode
set (A+B)750 g12204
component A5 kg12290
component B (hardener)2,5 kg12291
Epoxy Filler with fiberglass

Product description "Epoxy Filler with fiberglass"

  • Epoxy Filler with Fiberglass is very durable and can be applied in very thick layers.
  • Combination of lightweight component A and component B containing fiberglass allows for the apllication of thick layers without damaging the hull.
  • Recommended for deep cavities and completion bonding in the process of repairing boats.
  • Repair of deep defects from osmosis.
  • Repairs damage, cracks and scratches.
  • Easy to mix and apply.
  • Cans include components and room for mixing them.
  • Advantages include increased strength and bond.
  • 50 minutes – pot life 20°C
  • 16 hours – hard for sanding 20°C
  • 2:1 – mixing by volume
  • 100:50 – mixing by weight
  • First layer: epoxy primer Sea-Line, two-component paints.
  • Second layer: Epoxy Primers, 1K universal primer, colored Polyurethane Topcoat, anti-fouling paints.

Epoxy Filler with fiberglass - instructional video

Basic information

TypeGRP laminates, wood, steel, aluminum
PlaceAbove and below waterline
FunctionDeep damages, gluing
ApplicationPutty knife
Colorlight grey

You have questions about the product - Epoxy Filler with fiberglass

    Also check

    Our FAQ answers to frequently asked questions

    Why the paint does not have the right flow?

    Possible causes

    • No thinning, wrong thinner or wrong amount of thinner
    • Wrong type of roll or brush (wrong bristle lenght)
    • Applying too much or too Little paint,
    • During painting process temperature was too high or the air was too dry,
    • Incorrect preparation of too porous surface,
    • Incorrect proportion of thinner.

    How to prevent

    • Use a brush/Toller suited to the type of surface or paint,
    • Use thinner which is dedicated to the type of application and paints
    • Use thinning proportions which was indicated by manufacturer,
    • Paint in right atmosphere conditions indicated by manufacturer,

    How to remove

    • Grind, clean and paint again.

    Why are the streaks formed?

    Possible causes

    • Wrong viscosity and spraying technique,
    • Failure to maintain proper evaporation time and thickness of layers,
    • Incorrect spraying pressure,
    • Too low temperature of varnish, surface or space ,
    • Wrong thinner or hardener.

    How to prevent

    • Apply the right type of application method indicated by manufacturer,
    • Use working spray guns,
    • Both the object and material must have room temperature of 20ﹾC,
    • Apply correct proportion of base and hardener.

    How to remove

    • Grinding and polishing,
    • Grinding and painting,

    Why the resin does not harden?

    Possible causes

    • Too low temperature of ambitne,
    • Incorrect proportion of base and herdener,
    • Mixing two components from two different manufacturers

    How to prevent

    • Apply the correct proportions of components
    • Maintain steady temperature (around 20ﹾC) during whole hardening process,
    • Mix the products thoroughly and bleed the mixture.

    How to remove

    • The uncured mass requires complete removal from the surface.
    Wyjście
    Przeiń na górę